Enhance your space with Stone Sensation’s premium tile collection, the perfect fusion of style, durability, and functionality. Whether you’re renovating a home interior or completing a commercial project, our floor tiles offer unmatched versatility and long-lasting performance.
Choose from cement, slate and natural stone tiles to match any style and suit a variety of applications from sleek indoor flooring and modern bathrooms to patios and pool surrounds.
With options ranging from subtle textures to bold patterns, Stone Sensation’s floor tiles deliver refined detail and practical performance for every surface, indoors or out.
Sandstone Tiles
Slate Tiles
Cement Tiles
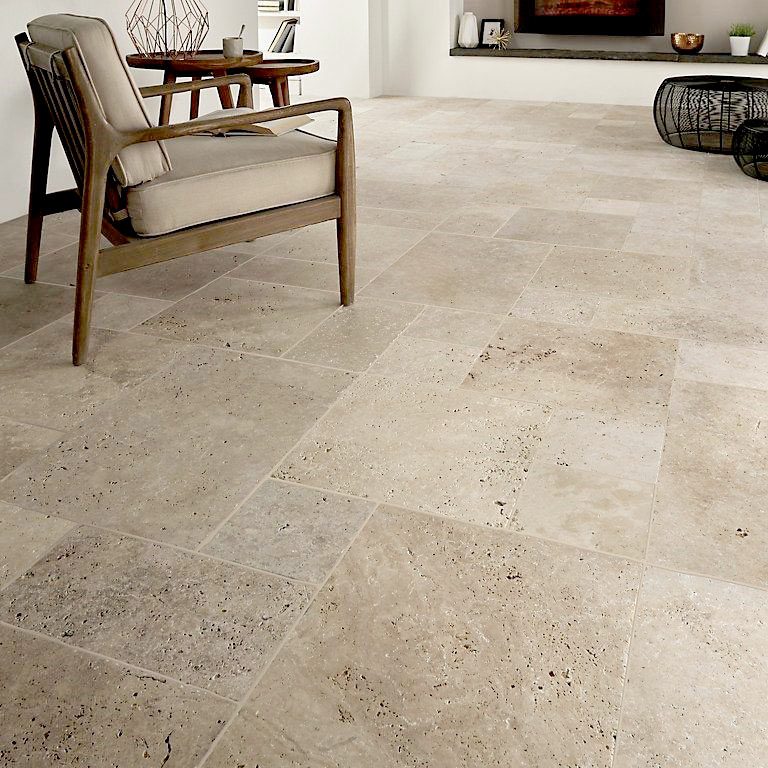
Travertine Floor Tiles
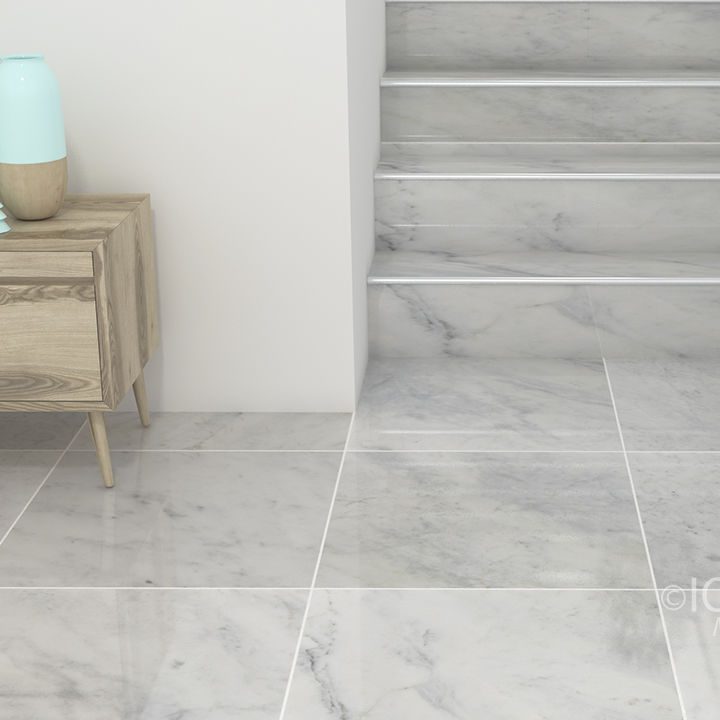
Marble floor tiles
Installation Guideline
Floor Tile Installation Guidelines
(For Slate, Cement & Sandstone Tiles)
General Adhesive Use Use a high-quality Tile Adhesive for most tile installations. For natural sandstone tiles, a 1:2 plaster mix (one part cement to two parts sand) is recommended for better bonding.
Preparation for Plastered and Unplastered Floors/Walls
Surface Inspection: Begin by checking the surface for any uneven patches or loose debris. Chisel off high spots and clean thoroughly.
Leveling: Use a straight edge or spirit level to mark a level guide. This ensures your first row of tiles is perfectly straight.
Layout Planning: Carefully plan your tile layout to avoid small cuts at edges and awkward gaps. This ensures a professional finish.
Adhesion Boost: For better grip—especially on absorbent surfaces—mix bonding liquid into your tile adhesive.
Spacers: Use tile spacers between each tile to maintain consistent grout lines and ensure proper leveling.
Cleaning as You Go: Wipe away any excess adhesive or grout before it dries, as dried material can damage the tile surface.
Waterproofing Additives: If waterproofing is required (e.g., in bathrooms or outdoor use), follow the manufacturer’s instructions carefully when mixing additives into the adhesive.
Installation Over Painted Surfaces
Surface Preparation: Thoroughly chip and sand the painted surface to remove loose paint and roughen it for proper adhesive grip.
Base Leveling: Fix a level guide along the bottom edge before you start laying tiles.
Plan Layout: Just like with other surfaces, map out your tile arrangement in advance.
Improved Bonding: Consider using bonding liquid in the adhesive to compensate for the smoother, previously painted surface.
Spacer Use: Maintain alignment and uniform spacing using tile spacers.
Clean as You Go: Always remove excess adhesive and grout before it dries.
Waterproofing: Where necessary, add waterproofing agents according to product instructions for a secure, long-lasting result.