
As experienced paving suppliers, we often get asked whether plastic sheeting should be placed beneath pavers. Our answer? A firm no — and here’s why.
Plastic sheeting, sometimes called “paving plastic,” may seem like a good idea to block weeds or create a barrier. But in reality, it often causes more problems than it solves. Let’s take a closer look at the key reasons why you should avoid using plastic under your paving project.
Poor Drainage & Water Accumulation
Plastic is impermeable — meaning it doesn’t let water pass through. This becomes a major issue under a paved surface:
- Water pools underneath the pavers
- Bedding sand becomes soggy or saturated
- Higher risk of frost heave in colder climates
Trapped water weakens the paving base, leading to shifting, sinking, or uneven pavers over time. Proper drainage is critical to a long-lasting paving job — and plastic undermines that completely.
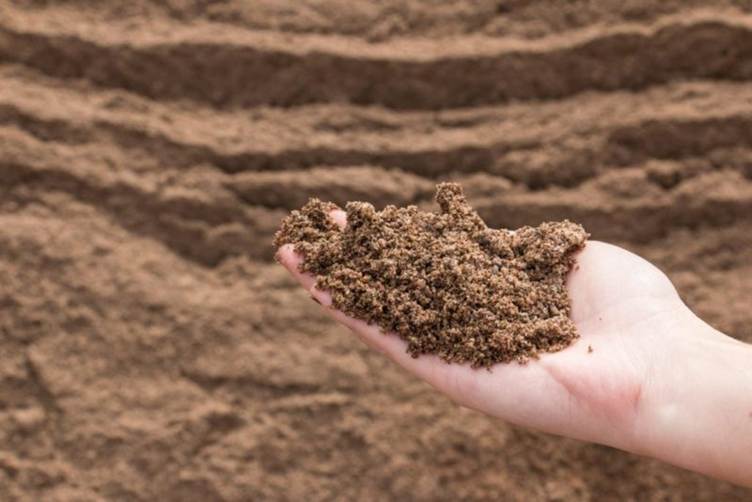
We would recommend using Plaster Sand as a foundation for your paving, please go to the link to red more about River Sand
Increased Risk of Weed Growth
Many people believe plastic will prevent weed growth. But in practice, it often makes the problem worse:
- Trapped moisture creates the perfect conditions for weeds to thrive
- Weeds grow in the sand between pavers, rooting above the plastic
- Once established, these weeds are even harder to remove
Instead of blocking weeds, the plastic ends up encouraging them in all the wrong places.
Stabilization
Plastic sheeting offers zero support to the structure of your paved surface. In fact, it prevents your base layers from working properly. The correct approach? Use Washed River Sand, which:
- Allows proper drainage
- Long-term durability
- Adds stability and separation over time
Geotextile fabric is specifically designed for outdoor ground preparation — unlike plastic, which traps moisture and destabilizes the base.
Read more on Plaster Sand
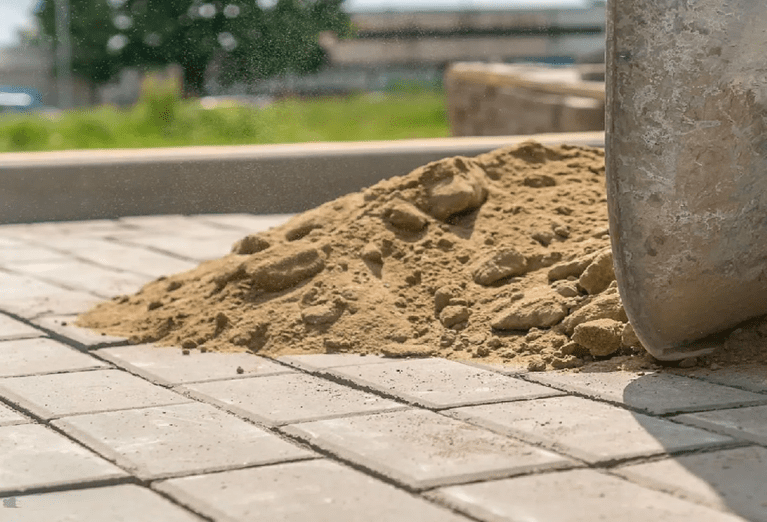
The Secret to a Long-Lasting Paving Job: Ground Prep + the Right Sand
At Stone Sensation, we’re more than just suppliers — we’re paving experts. Whether you’re a seasoned contractor or a weekend DIY warrior, there are two key factors that make or break your paving project:
- Stabilising the ground properly
- Using high-quality bedding sand
Let’s walk you through the right steps to set your project up for success.
Step 1: Proper Ground Stabilisation with a Wacker
Before you lay any pavers, you must stabilise your base. We strongly recommend using a wacker (plate compactor) to:
- Compact the soil and sub-base
- Prevent shifting and sinking over time
- Create a solid, level surface to support your pavers
Skipping this step can result in costly issues later, like cracked joints, uneven surfaces, or total paving failure.
Step 2: Use Premium River Sand as Bedding
Once the ground is compacted, it’s time to lay your bedding layer — and river sand is the ideal choice. Our high-grade river sand offers:
- Excellent drainage
- Smooth, level compaction
- Natural erosion resistance
- Firm joint locking for reduced movement
Its consistent grain size and clean finish make it the professional choice for long-lasting paving work.
Why Choose Our River Sand in 1-Ton Bags?
We supply river sand in 1-ton bulk bags, and here’s why that matters:
No Wastage
- You only use what you need
- Avoid leftover piles getting contaminated or wasted
Cleaner Sites
- Less mess and easier cleanup
- Ideal for residential or small urban sites
Easy Delivery & Handling
- Bags are clearly labeled and efficiently packed
- Simple to store, move, and use on demand
Trust the Process. Trust the Product.
At Stone Sensation, our job doesn’t stop at selling materials — we help you build better, smarter, and longer-lasting paving installations. When you compact your base properly and lay pavers on river sand, you’re investing in a finish that’s both beautiful and durable.
Don’t be misled by shortcuts like plastic sheeting. Trust professional materials, proven techniques, and expert guidance.
Explore Our Full Paving Range
Discover our range of high-quality driveway and outdoor paving products: